20210310_바닐라 js로 그림판 만들기, HTML, CSS (Reset, import, flex, unset, all), Emmet, Canvas, mouseEvent
바닐라 js를 이용한 그림판 만들기 project
그림판 전체적인 기능
- Canvas API를 이용함
- 굵기 조절
- 색깔 선택
- 그리기
- 채우기
- 저장 기능
사전에 필요한 것들
- 깃헙 계정
- 구글 크롬
- VScode
Set up
HTML
- CSS, js 파일 연결
- 전체적인 요소 구현
- convas 태그 사용
<!DOCTYPE html>
<html lang="en">
<head>
    <meta charset="UTF-8">
    <meta http-equiv="X-UA-Compatible" content="IE=edge">
    <meta name="viewport" content="width=device-width, initial-scale=1.0">
    <link rel="stylesheet" href="styles.css">
    <title>PaintJS</title>
</head>
<body>
    <canvas id="jsCanvas" class="canvas"></canvas>
    <div class="controls">
        <div class="controls__colors" id="jsColors">
            <div class="controls__color" style="background-color: #2c2c2c;"></div>
            <div class="controls__color" style="background-color: white;"></div>
            <div class="controls__color" style="background-color: #FF3B30;"></div>
            <div class="controls__color" style="background-color: #FF9500;"></div>
            <div class="controls__color" style="background-color: #ffCC00;"></div>
            <div class="controls__color" style="background-color: #4CD963;"></div>
            <div class="controls__color" style="background-color: #5AC8FA;"></div>
            <div class="controls__color" style="background-color: #0579FF;"></div>
            <div class="controls__color" style="background-color: #5856D6;"></div>
        </div>
    </div>
    <script src="./app.js"></script>
</body>
</html>
CSS
- CSS 초기화 파일 만들기 (reset.css) CSS RESET code
- RESET CSS을 CSS파일에 연결하기
@import "위치" display : flexflex 속성 알아보기
@import "reset.css";
body {
  background-color: #f6f9fc;
  font-family: -apple-system, BlinkMacSystemFont, "Segoe UI", Roboto, Oxygen,
    Ubuntu, Cantarell, "Open Sans", "Helvetica Neue", sans-serif;
  display: flex;
  flex-direction: column;
  align-items: center;
  padding-top: 50px;
}

.canvas {
  width: 700px;
  height: 700px;
  background-color: white;
  border-radius: 30px;
  box-shadow: 0 4px 6px rgba(50, 50, 93, 0.11), 0 1px 3px rgba(0, 0, 0, 0.08);
}

.controls {
  margin-top: 80px;
}

.controls .controls__colors {
  display: flex;
}

.controls__colors .controls__color {
  width: 50px;
  height: 50px;
  border-radius: 25px;
  box-shadow: 0 4px 6px rgba(50, 50, 93, 0.11), 0 1px 3px rgba(0, 0, 0, 0.08);
  cursor: pointer;
}
Button
-
HTML
-
- html 작성시 쉽게 작성시킬 수 있는 html 생성 언어?
- 예)
div.controls__colors*2>div.controls__color>button#jsMode+button#jsSave하고tab
<div class="controls__btns">
    <button id="jsMode">Fill</button>
    <button id="jsSave">Save</button>
</div>
-
CSS
- MDN 사이트
- CSS : all 속성 : 사용자가 지정한 값 빼고 모두 선택함
- CSS : unset 값 : 사용자가 지정한 초기값으로 만듦(사용자가 지정한 최상단 부모 값으로)
- CSS: Rgba : rgb 색상 + 알파 값 -> 투명도 까지 더해진 것임
- CSS : button:active : button을 누르고 있을때 모양 및 상태 설정
- CSS : transform : 해당 모양을 자유 자제로 변형시킬 수 있음 사이즈, 회전, 늘리기, 줄이기 등…
- CSS : cursor : 커서 모양 설정
- MDN 사이트
.controls {
  margin-top: 80px;
  display: flex;
  flex-direction: column;
  align-items: center;
}

.controls .controls__btns {
  margin-bottom: 30px;
}

.controls__btns button {
  all: unset;
  cursor: pointer;
  background-color: white;
  padding: 5px 0;
  width: 80px;
  text-align: center;
  border-radius: 5px;
  border: 2px solid rgba(0, 0, 0, 0.2);
  color: rgba(0, 0, 0, 0.4);
  text-transform: uppercase;
  font-weight: 800;
  font-size: 12px;
  box-shadow: 0 4px 6px rgba(50, 50, 93, 0.11), 0 1px 3px rgba(0, 0, 0, 0.08);
}

.controls__btns button:active {
  transform: scale(0.97);
}
Range(포인터 크기 설정)
- HTML
- HTML: input 요소
- min, max 최소 최대값 / value 기본값(default)/ step 증감하는 단위 값/
- HTML: input 요소
<div class="controls__range">
    <input type="range" id="jsRange" min="0.1" max="5.0" value="2.5" step="0.1" />
</div>
- CSS
- 간단하게 위치만 조정해 줌
.controls .controls__range {
  margin-bottom: 30px;
}
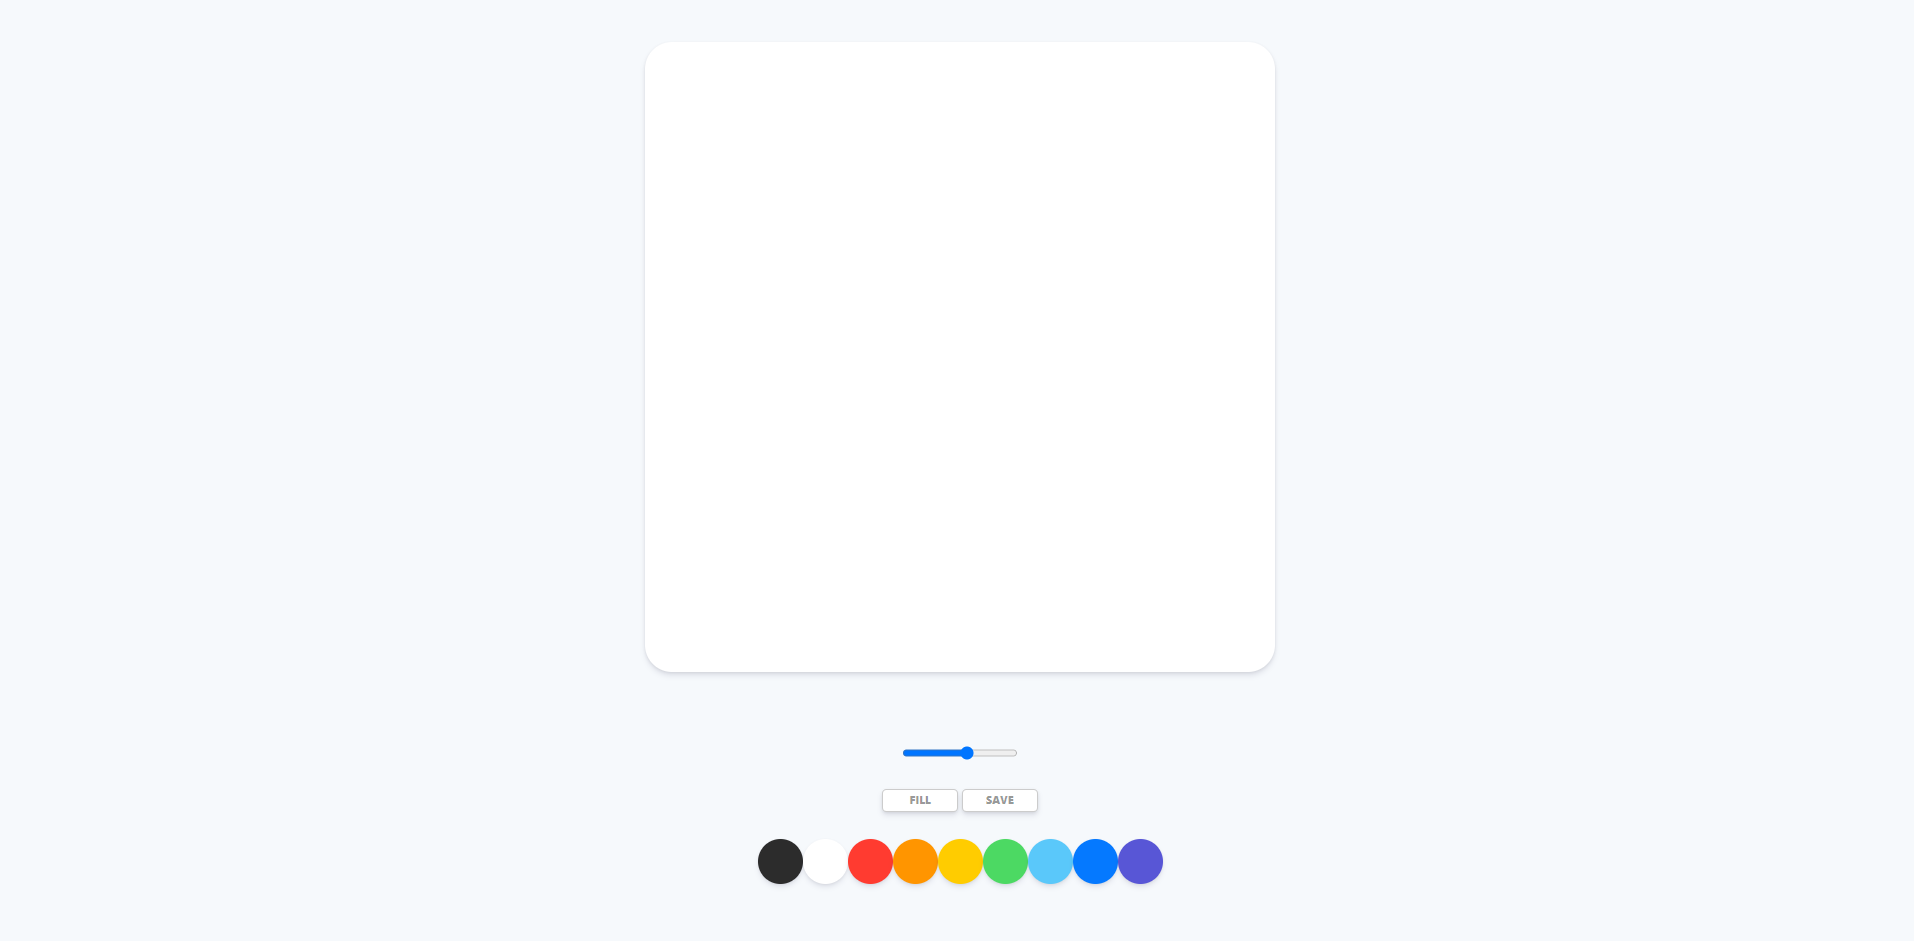
CSS 입힌 중간 결과물

Canvas Events
- addEventListener 조건 :
mousemove: mouse가 움직임을 감지했을 때 event 발생mousedown: mouse가 클릭했을 때(눌렸을 때) event 발생mouseup: mouse가 클릭했을 때(때어졌을 때) event 발생mouseleave: mouse가 target에서 벗어 났을 때 event 발생
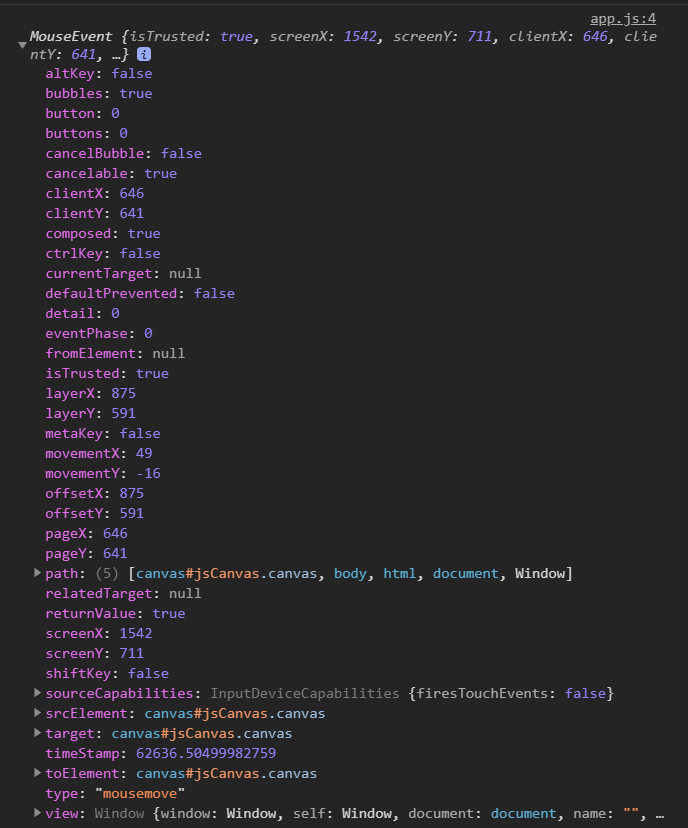
- mouseEvent

offsetX,offsetY: canvas 안에서의 마우스 위치 값clientX,clientY: 윈도우 전체의 범위내에서의 마우스 위치값
-
JS
onMouseMove: mouse 위치 감지- mouse 클릭 상태 감지 하여 painting 변수 변경 (눌렀을 때 true, 떼거나 컨버스에서 벗어나면 false)
- paint 변수 상태를
startPainting,stopPainting으로 구현
const canvas = document.getElementById("jsCanvas");
const ctx = canvas.getContext("2d");

canvas.width = 700;
canvas.height = 700;

ctx.strokeStyle = "#2c2c2c"
ctx.lineWidth = 0.5;


let painting = false;

function startPainting(event) {
    painting = true;
}

function stopPainting(event) {
    painting = false;
}

function onMouseMove(event) {
    const x = event.offsetX;
    const y = event.offsetY;
}


if (canvas) {
    canvas.addEventListener("mousemove", onMouseMove);
    canvas.addEventListener("mousedown", startPainting);
    canvas.addEventListener("mouseup", stopPainting);
    canvas.addEventListener("mouseleave", stopPainting);
}
- MDN 사이트
- convasRednderingContext를 가져와야 함
getContext(설정값)으로 가져옴- 설정 값은 2d, webgl(3D) 등을 넣을 수 있음
- 3d webgl
- ctx 변수로 해당 canvas context 객체를 가져와 해당 속성을 기본적으로 설정함
strokeStyle: line colorlineWidth: line thick
- canvas 객체 크기를 정해야 함 (
canvas.width,canvas.height)
const canvas = document.getElementById("jsCanvas");
const ctx = canvas.getContext("2d");

canvas.width = 700;
canvas.height = 700;

let painting = false;


function onMouseMove(event) {
    const x = event.offsetX;
    const y = event.offsetY;
    if(!painting) {
        ctx.beginPath();
        ctx.moveTo(x, y);
    } else {
        ctx.lineTo(x, y);
        ctx.stroke();
    }

}
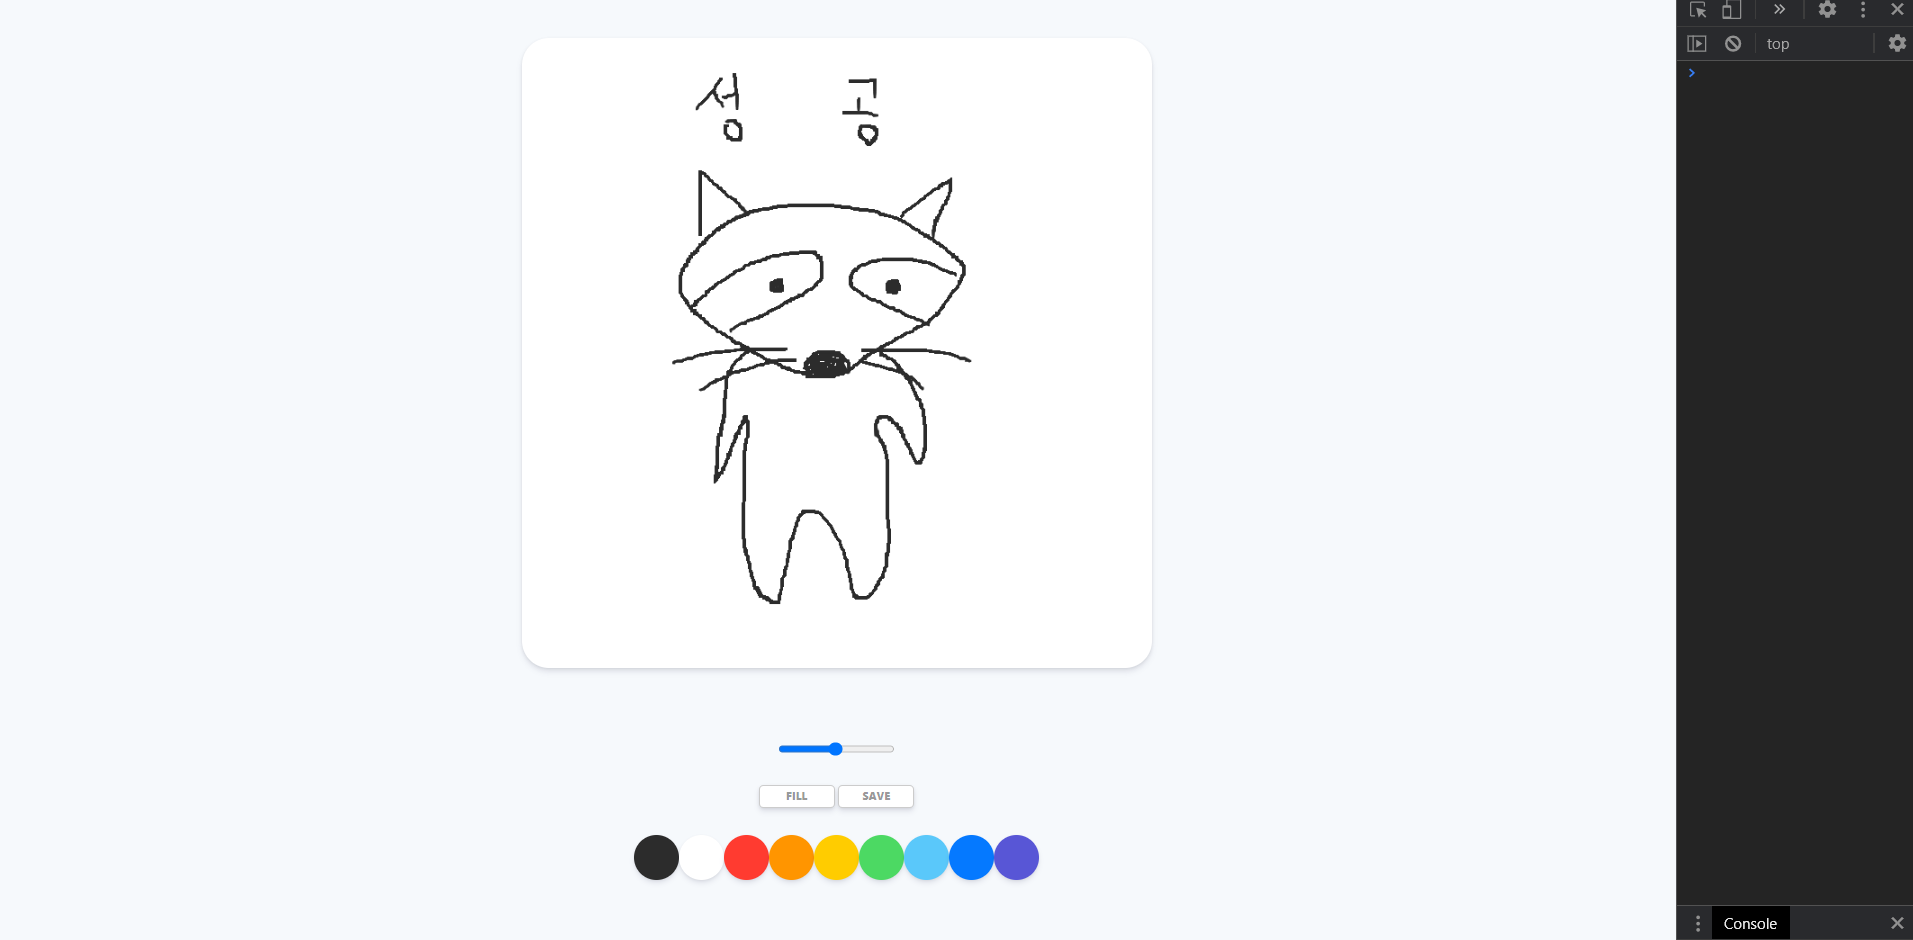
- 그리기 구현
- painting 변수 특성상 painting이 되는 것 안되는 것은 true false로 표시해야 가독성이 좋은데 이런 특성 때문에
- 조건문에 넣어 특정 명령을 실행 시킬려면 조건 값이 true이어야 하는데 그래서 일부러 false 인경우를 true로 만들어 if문을 실행시킴
- painting이 false 이면
beginPath(): 경로 list 시작moveTo(): 경로 list에 시작(첫번 째) 좌표값을 받음
- painting이 true 이면
lineTo(): 경로 list에 하위 좌표값을 받음stroke(): 경로 시작값 부터 하위 값들의 경로로 획을 그음- 추측이지만 그래서 계속 시작 값 부터 하위 값들 계속 획을 긎기 때문에 최근 값일 수록 연하고 이전 값일 수록 진해 지는것 같다.
closePath(): 경로 list 끝 값과 시작값을 이어주는 것 같다.fill(): fill의 경우에는 채우는 효과라서 closePath처럼 효과가 나타난다.- 물론, 채우냐 빈것의 차이지만 선으로 긋기만 하는 거라면 딱히 차이는 없다. 면이 아니라서

앞으로 점검해야 할 일 (그림판 프로젝트 X)
- 모달창 만들기
- 슬라이드 메뉴 만들기
-
드래그엔 드랍
- 30가지 바닐라 js 예제